Creating Custom Day/Night Cycle Dynamic Wallpaper for macOS Under 30 Minutes
Updated 2020-08-01
Since macOS Mojave (macOS 10.14), dynamic wallpapers have become one of my favourite things about the OS aethetics. How it works is that the wallpaper dynamically changes based on current time or sun positions using a set of images, typically taken at the same location with the same viewpoint, but at a different time. These set of images are packed into a single multi-frame .HEIC file with added metadata such as GPS or time information used to determine when to transition to the next image.
Note: this post is WIP
- Introduction
- 1. Tools and Requirements
- 2. Using Image Manipulation Programs to Create Scenes
- 3. Dynamic Wallpaper Club
- 4. Setting the Dynamic Wallpaper
- Conclusion
Introduction
While traditional “dynamic” wallpapers exist where a folder of images can cycle every set period (30 min, 1 hr, etc.), they don’t work well as they don’t respond corresponding to the environment (such as sunrise and sunsets). Also these wallpapers don’t refresh when the computer is asleep or off, causing the wallpapers to be out of sync once powered on again.
In this post, I will provide a step-by-step guide to creating custom 24-hour cycle (or day/night cycle) dynamic wallpapers for macOS.
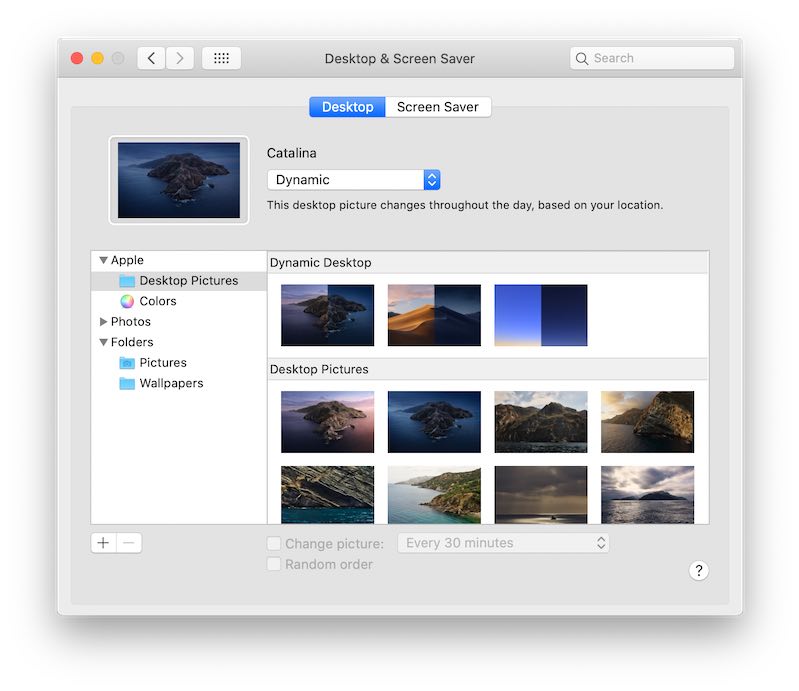
1. Tools and Requirements
To ensure that the dynamic wallpaper can seamlessly transition between images, the day and night time images must be in the same position with the same point of view. One could achieve this by having enough patience to camp outside and take a photo once every few hours.
I don’t have the patience for that. 😑
So instead I will take an existing photo I took as a default day-time image, then use image manipulation programs (e.g. Luminar 4, Photoshop) to edit-in the scene at different times. I use Luminar 4.3 for its recent AI Sky Replacement feature — which uses machine learning to segment skies from other parts of the image. Then the segment mask can be used for a sky substitution. The AI further performs scene relighting in other parts of the image such that the whole image looks convincing — color and light wise.
We will then export each scene as a different image, and upload all of them to a website called Dynamic Wallpaper Club, which will combine all the images into a single multiframe .HEIC file which we can then set as desktop wallpaper in macOS.
2. Using Image Manipulation Programs to Create Scenes
🌤 Part One: Day
-
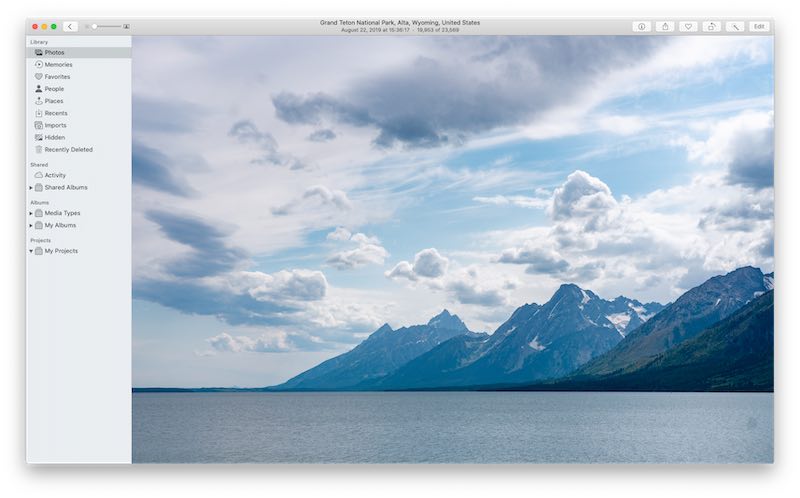
First, I go to my photo library and pick a photo I would like to be my wallpaper. Preferably this is a landscape image with clearly defined horizon so that Luminar AI could do its sky replacement easily. I also prefer this image to a be a day-time image as default.
-
Here, from my Photos library, I picked a dramatic photo taken by Jackson Lake, WYO. The hard edges of the horizon and mountain lines should make the sky replacement process mostly automatic.
-
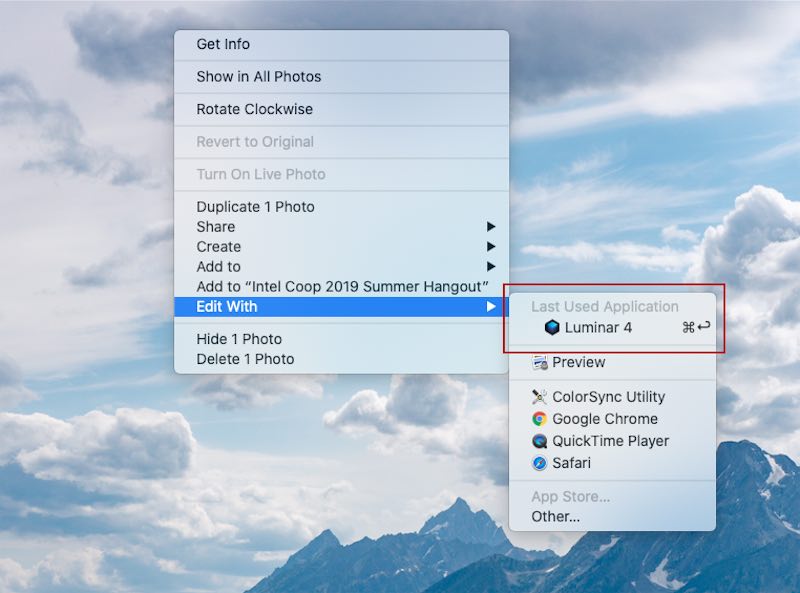
Next, I open this photo in Luminar 4. Any photo manipulator like Photoshop or Pixelmator should work fine.
-
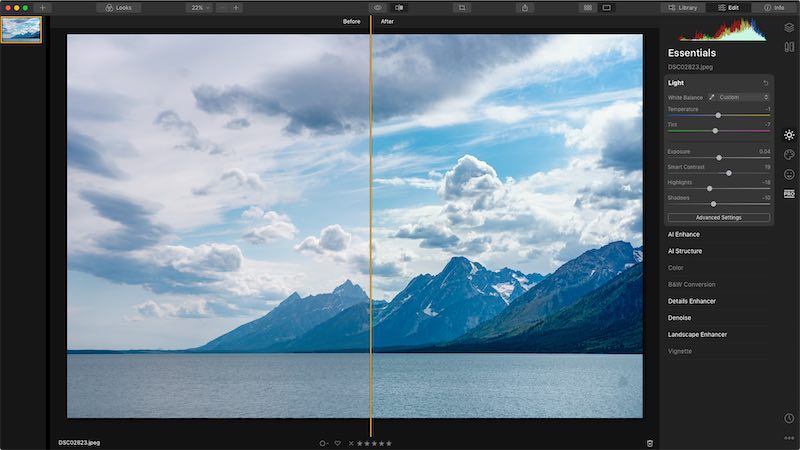
In Luminar, apply any post-processing edits are needed. For my image, I increased the contrast and structure sliders to make the mountains look more dramatic; I also increased vibrance and dehaze sliders to make the distant sceneries and clouds “pop”. Here is a before/after comparision:
-
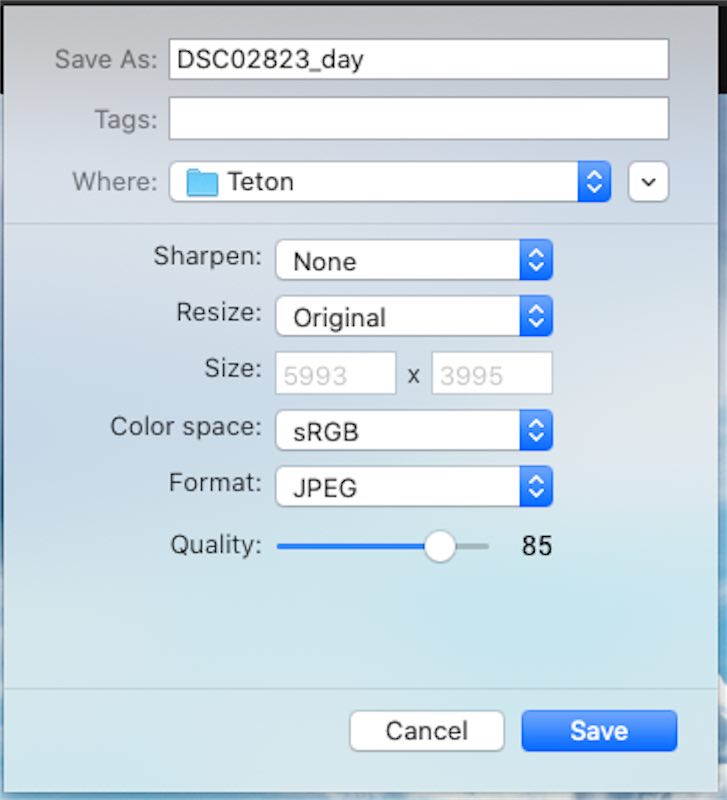
Once we’re happy with the edits, export it as a JPEG.
🌓 Part Two: Night
-
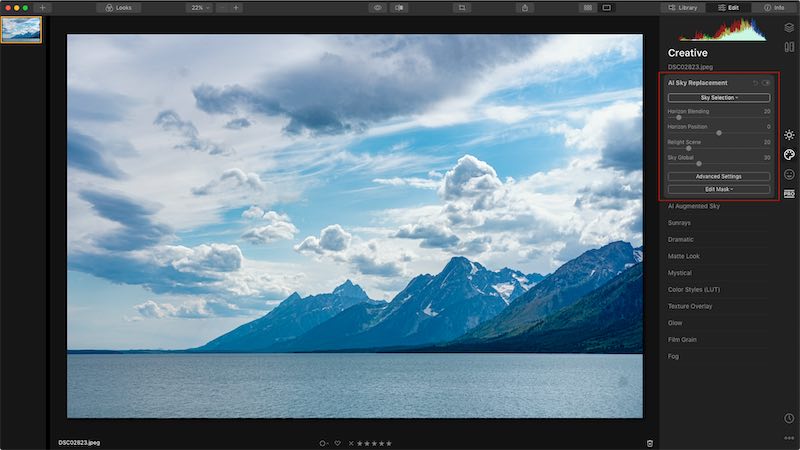
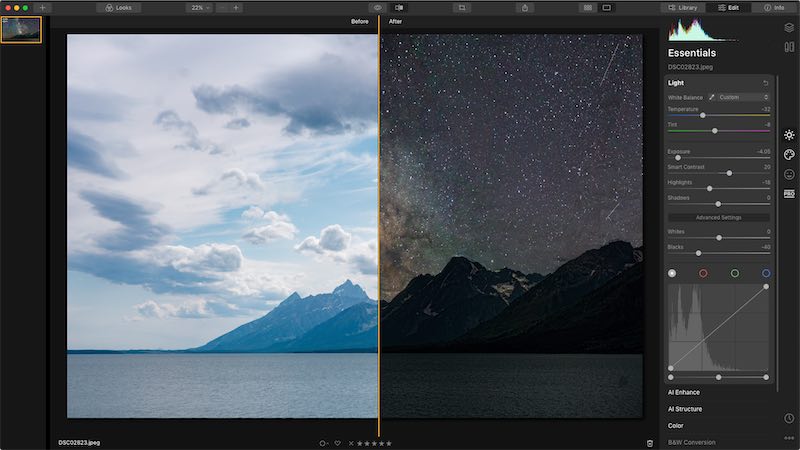
Now let’s create the night version of the same photo. I go to the Creative tab in Luminar and apply the AI Sky Replacement tool.
-
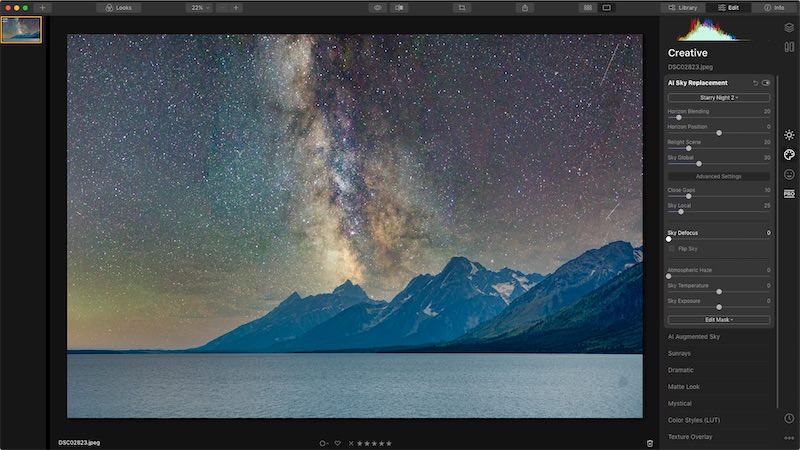
In this case I’ve chosen the “Starry Sky 2” as a replacement. Open up the Advanced Settings panel and use the Sky Global slider to refine the threshold of where Luminar thinks the sky is. Also notice that its own scene relighting did a fairly good job of matching the colors fo the lake and the mountains with the sky. Use the Relight Scene slider to adjust how much AI relighting are to be applied. Increase the Atmospheric Haze slider to have the contrast in the stars match roughly to the distant scenery.
-
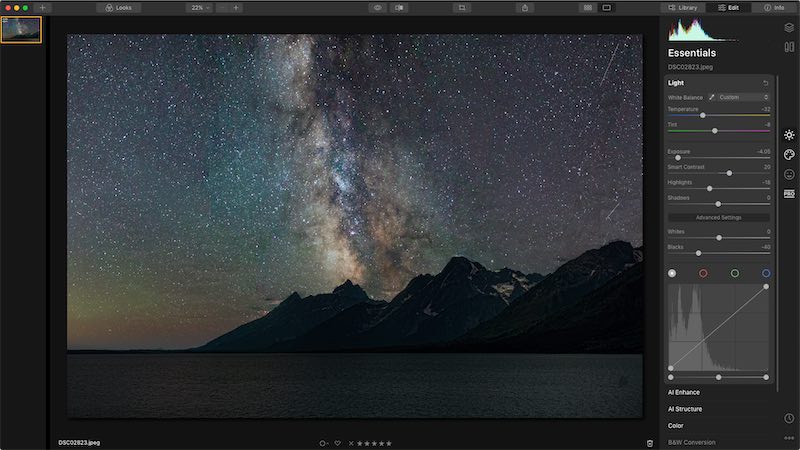
Go back to the Essentials tab and adjust exposure so that the scene looks realistic. I applied a -4 EV exposure and decreased contrast.
-
Here is a before/after comparision of the edits we just did. I think it’s pretty convincing 😛.
-
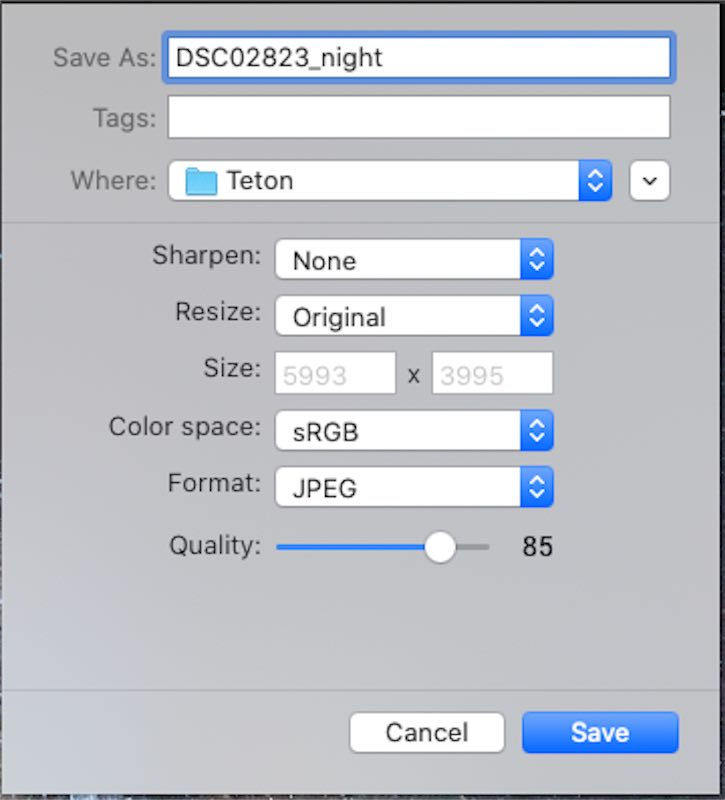
Just like the day-time image, export the edit as a different JPEG file.
🌇 Part Three: Dusk
-
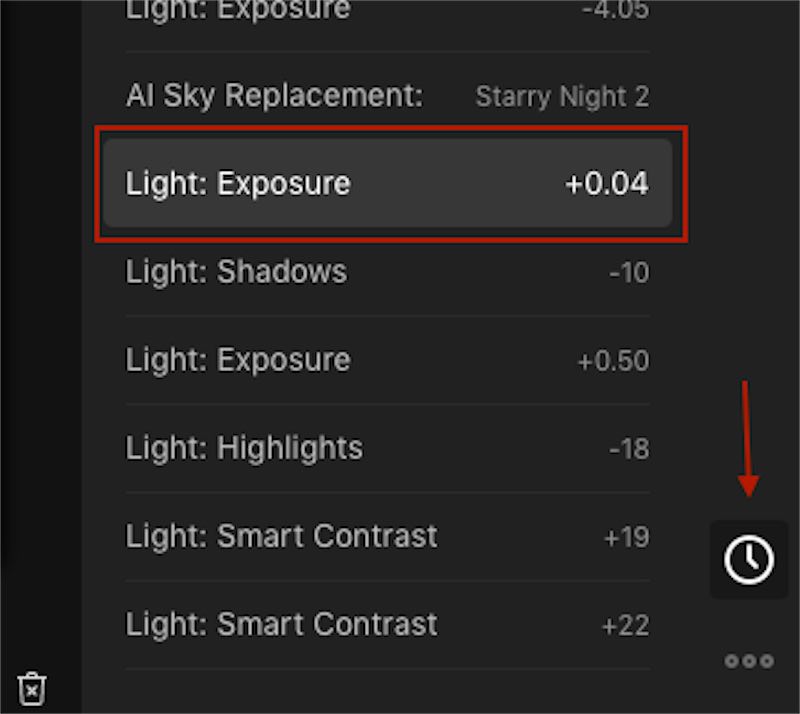
First, lets undo the edit we have done for the night-time image by going to the History tab in Luminar, and select the action right before the AI Sky Replacement. Since Luminar (like Lightroom), is a non-destructive editor, this will bring us back to when we just exported the day-time image.
-
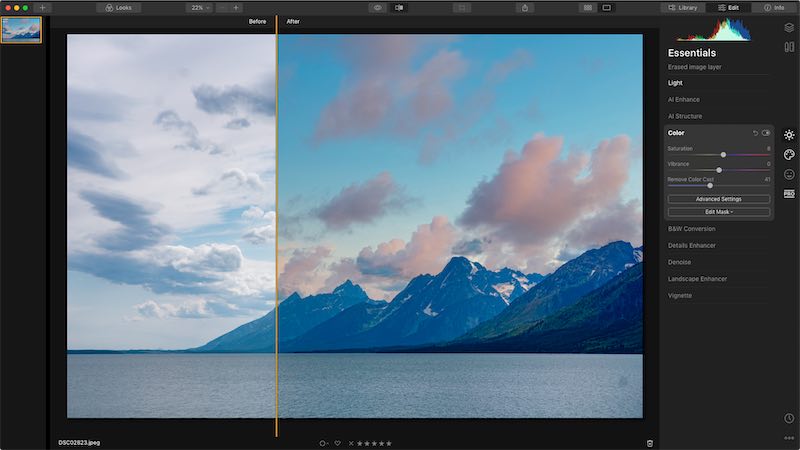
After that, we do the same thing we did with the night-time image but instead replace the sky with a dramatic sunrise or sunset sky. Here I am using “Dramatic Sunset 4”. I also adjusted the white balance so that the photo has a pink tint to it. Here is the result:
-
Of course, export photo as JPEG just like before.
3. Dynamic Wallpaper Club
The hard work is done. Now it’s time to put them together.
-
Head over to Dynamic Wallpaper Club, register for an account, and create a new dynamic wallpaper. Then upload all the JPEG exports we made in section 2 and assign default day/night frames.
From my experience, the website work the best using Chrome.
-
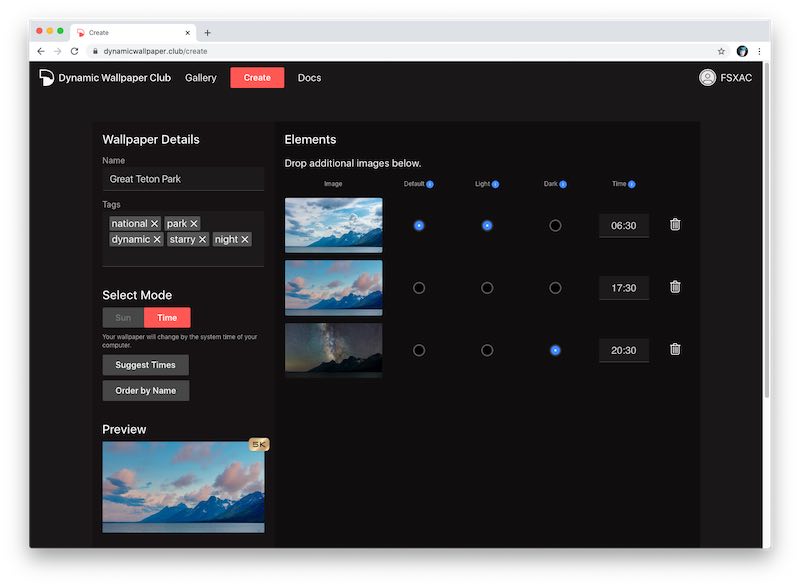
In the left sidebar, we can select the dynamic wallpaper to either “Sun” mode or “Time” mode. In “Sun” mode, the dynamic wallpaper state is driven by its builtin GPS location data as well as the time the picture was captured. I chose “Time” mode so I can manually enter the time. For more information, checkout the docs page.
-
In the “Time” column on the right hand side, I specify the time for each frame. The time will designate when the frame will be the active one. For example, as shown in the image above, the first frame (day-time) will by my Default and Light Default frame, but will also be displayed starting at 06:30. The next frame (dust) will be kicked in starting 17:30. Finally, the night-time frame will go from 20:30 to 5:29 of the next day.
-
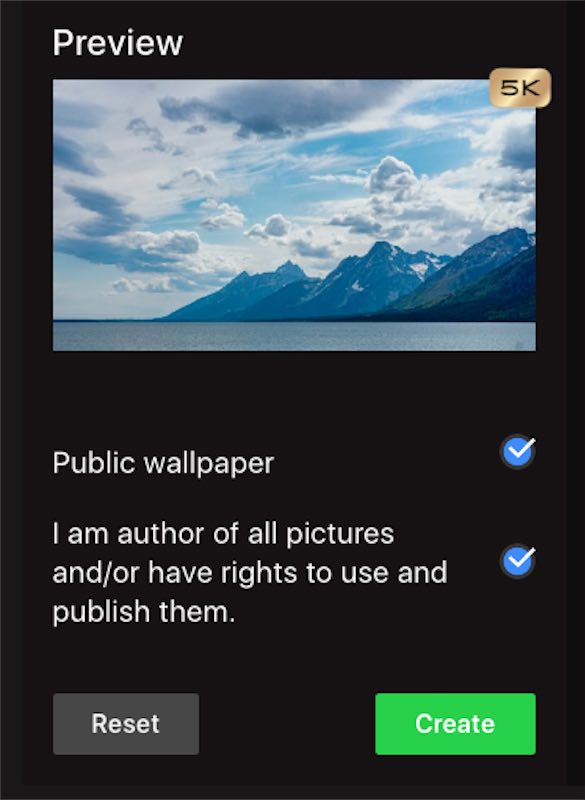
Hit “Create” button on the left side to submit job to queue. Shortly after, the dynamic wallpaper should be available for download inc .HEIC format.
4. Setting the Dynamic Wallpaper
Once the website has processed the wallpaper stack, there is a download button to